
12 Easy Ways to Make Even Better YouTube and TikTok Videos
Share
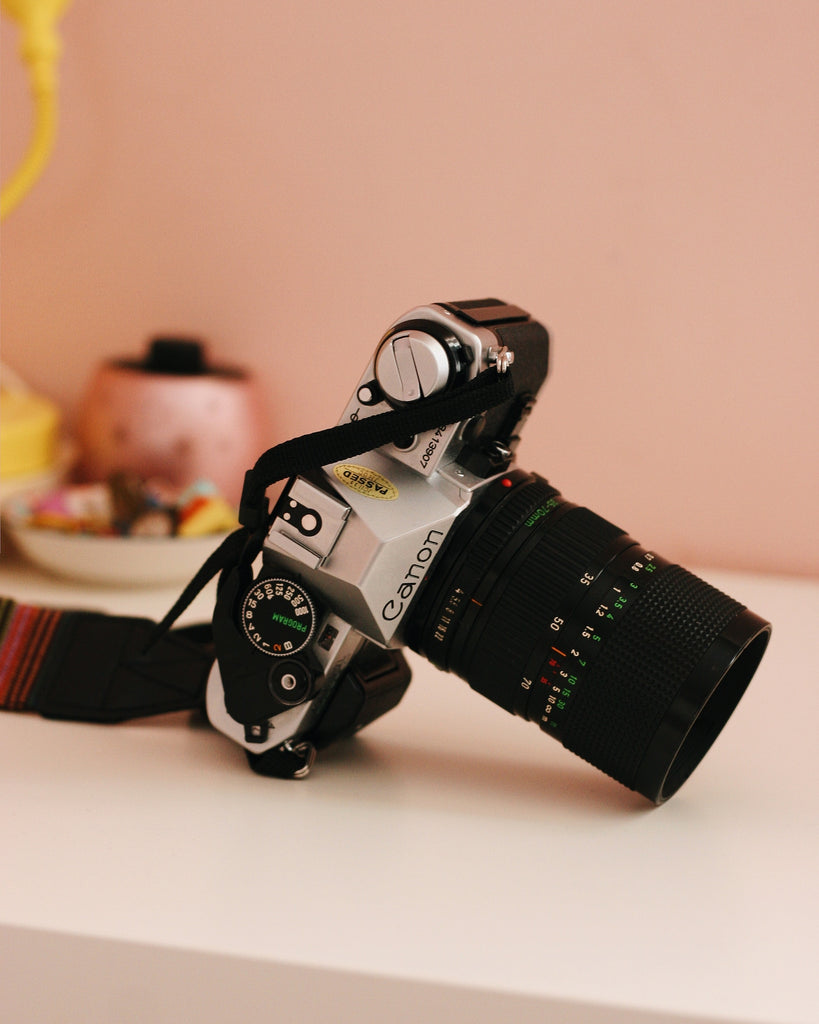
If you're pulling out your video camera or smartphone right now and don't have time to read up on how to make high-quality videos, we've got you covered.
Here are 12 tips right from the first section of Steve Stockman's book, How to Shoot Video That Doesn't Suck, that will instantly improve your video making and production skills.
You'll find that if you implement the strategies below, you'll immediately have a much better return on all your video marketing efforts--YouTube, TikTok, and so on.
Let's get started.
1. Think in Shots
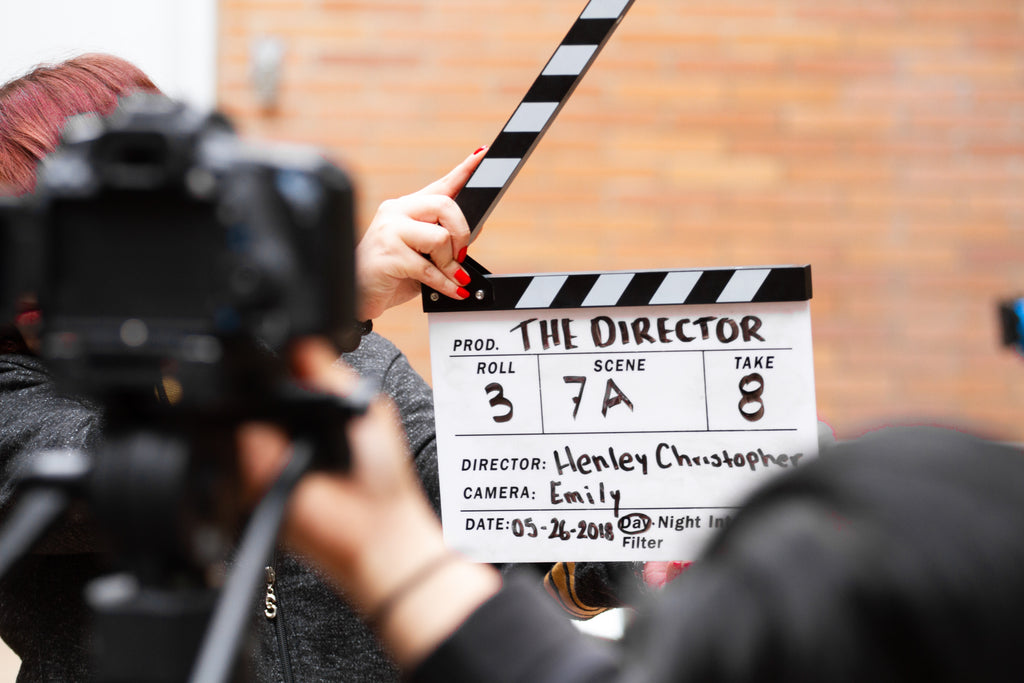
Watching a video, you can only look where the camera looks.
If the camera looks at the same thing for too long or doesn't look where you want it to, you'll be bored.
That's why they cover the super bowl with 27 different cameras--every few seconds, BANG, a different shot.
And each shot focuses on a new piece of information: Here's the snap, here's who has the ball now, here's a defender coming in from the right, here's the quarterback pulling back to throw, and CUT to a wide receiver catching it on the first-down line.
Each shot has a point, and cutting between them gives you a lot of information without boring you.
From now on, think in shots.
Shoot deliberately.
Every time you point the camera, who and what are you pointing it at?
What are they doing?
Is it interesting?
When it's not, cut and find something else to shoot.
Don't run the camera nonstop.
Even if you're going to edit later, it's a bad habit that will only cost you time when you have to watch tons of thoughtless, unusable footage.
2. Don't Shoot Until you see the Whites of Their Eyes
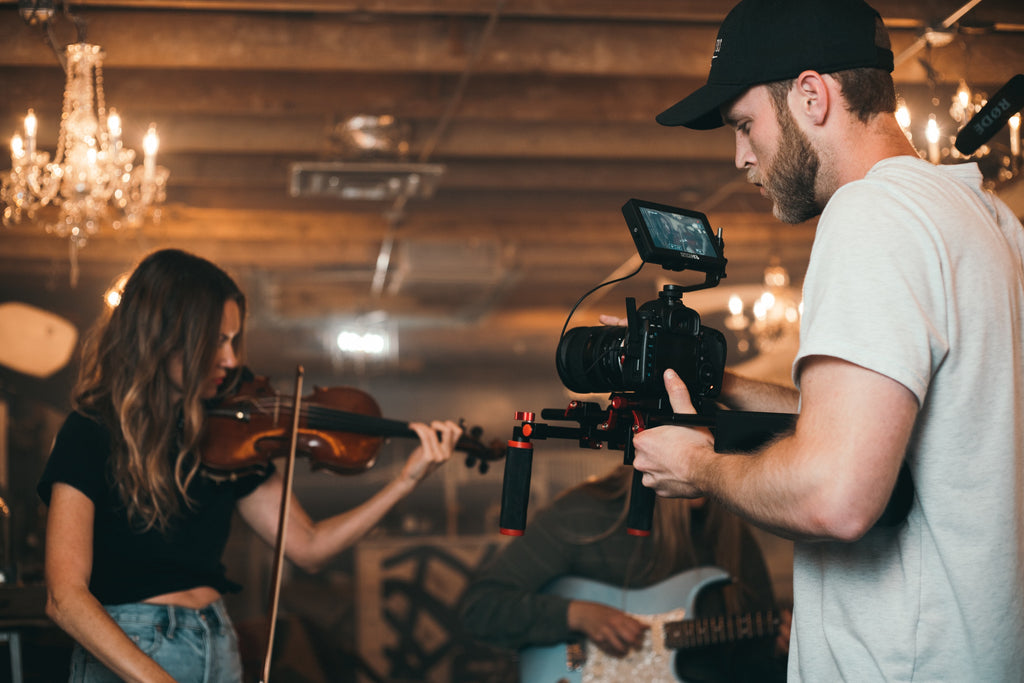
On planet video, you're probably going to be shooting people far more frequently than landscapes.
People communicate half of everything they're saying with their mouths and the other half with their eyes.
Miss the eyes, and you miss half the message.
Think about the shifty lawyer on the news whose mouth proclaims his client's innocence, but whose demeanor somehow makes you feel like he is lying.
It's in his eyes.
Or in a drama, when she says, "Yes, of course I love you," but you and the hero know she doesn't--it's the eyes again.
That's why TV (and web video even more so) is a medium of close-ups.
The subtle facial patterns that make up more than half of the communication between humans vanish if you're too far away.
Your video will instantly improve by 200% if you always stay close enough to your subjects to clearly see the whites of their eyes.
3. Keep Your Shots Under 10 Seconds Long
If you watch great videos, movies, or television, you'll notice that--with some deliberate exceptions--nobody uses shots that are more than 10 seconds long.
Most are much shorter.
These short shots are part of modern film language.
Shooting shorter shots gives your video more impact.
As an illustration:
At your daughter's soccer game, instead of turning on the camera and leaving it running throughout the entire game, do this instead--
- A shot of the crowd of parents watching the game, and CUT
- The team taking the field, and CUT
- Your daughter as the ref drops the ball, and CUT
- A quick shot of her making a play, and CUT
- Continue for 20 or so more shots.
In 20 years, when you play the footage at her wedding, the three minutes of short shots you've compiled will richly recall a time and a place with more information and feeling than if you had let the shot drag on and on.
4. Zoom With Your Feet
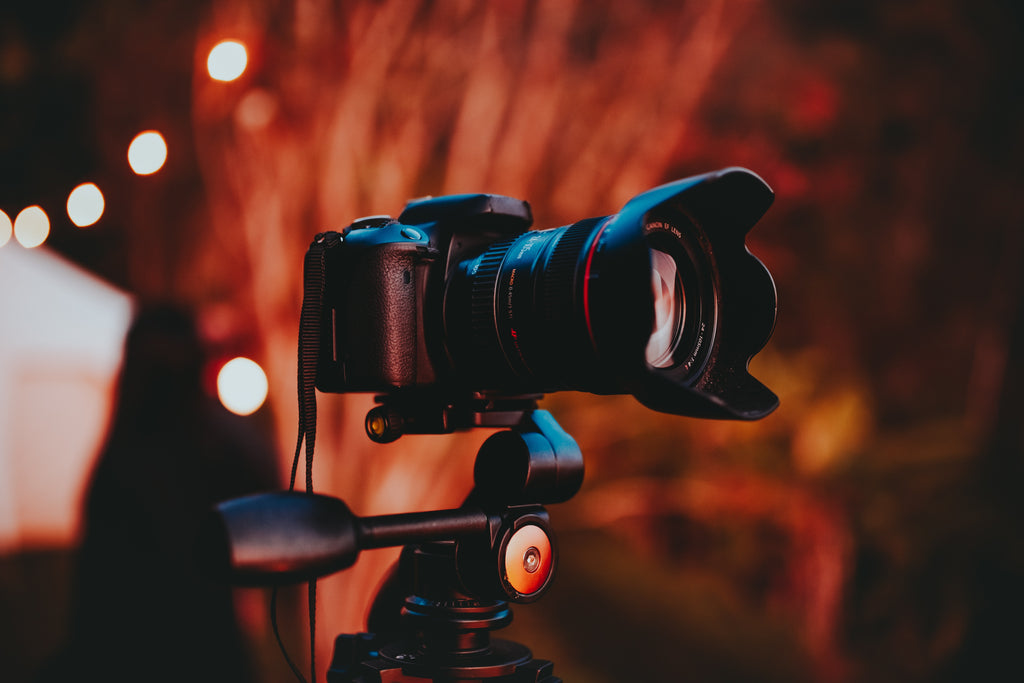
Like the Super Bowl, networks cover baseball with cameras all over the ballpark.
The cameras have huge lenses that can zoom in on the pitcher's nostrils from high above home plate.
It looks great.
And all of these long-zooming cameras are attached to huge platforms by the smoothest system of ball bearings and gears modern engineering can design.
That's because a little jostle or bump on a camera with a huge zoom lens looks like an earthquake on TV.
If the cameras weren't bolted down, shaking would make the game unwatchable.
I could draw you a complicated diagram showing that the width of an angle increases over distance, but all you really need to know is 10x zoom = 10x shakier.
To keep your camera from shaking, you could put it on a tripod instead of holding it.
But for better video, don't use the zoom on your camera at all.
To get a great close-up, set your lens all the way wide (i.e., no zoom), walk yourself physically closer to your subject, then shoot.
When you stay on the wide end of the zoom lens, minor shaking becomes virtually invisible.
You might be thinking, "Does the digital zoom count?"
Do. Not. Use. It.
EVER.
So-called digital zooms don't see more than the camera's lens normally does.
Instead, a computer chip in your camera blows up the picture, reducing its quality.
The more you blow it up, the worse it looks.
Avoid this feature!
5. Stand still! Stop fidgeting! And no zooming during shots!

Pros get to move the camera. You will too after you become a pro-or even after you've practiced enough to reach "skilled amateur" status.
Until then, treat your video camera like a still camera.
Point the lens, take your finger off the zoom button, look at the LCD screen to make sure your picture is good, and press "start."
Stop when you've got the shot, and repeat.
The rhythm you're going for is Move, Point, Shoot, Stop--Move, Point, Shoot, Stop.
The result will be a series of well-framed shots in which the motion of the subject catches and holds our attention, without the distraction of the frame careening all over the place.
6. Keep the light behind you
Modern video cameras, from cell phones to HD, adjust automatically for light.
If the light's too bright, they close down the lens to let less in.
Normally, no problem for you or the video camera. Your outdoor shots in bright light look great, and so do your indoor shots by candlelight.
The camera gets confused when it has to deal with multiple light levels in the same shot, though.
It has only one lens--if it closes that lens to keep out light that's too bright, something else in the frame that was darker to begin with will get really dark.
Most video cameras expose for the biggest, brightest thing in the frame.
If you put your grandmother in front of a window at 2 P.M., the camera will show you the beautiful scene outside the window and only a black cutout silhouette of grandma.
To prevent her from looking like a participant of the witness protection program, keep the light at your back.
If the light is in front of the lens, it's always brighter than the person you're shooting, and they'll be dark. If you keep the light behind you, it will fall on your subject, and they'll be the brightest thing in the frame.
And we'll still be able to see them.
If you're outside in the daytime and your subjects are squinting, try moving so that the sun hits them at an angle instead of straight on.
And yes, this point is a plug for our delightful ring lights.
Our ring lights allow you to easily position the lighting behind your camera so you can get the perfect shot.
7. Turn off the camera's digital effects
There is no digital video effect that your camera can do that you should allow it to do.
Drill that into your head and say it aloud.
If you shoot nice, clean video, you can always add a dorky effect like posterization later with one of the many computer editing programs designed to do it.
But if you shoot a posterized video, you can never take it off.
You're stuck with it forever.
Despite what the box at the store would have you believe, digital effects don't give your camera special powers.
Instead, they take the high-quality picture your camera is capable of at its best and degrade it with digital zoom, 'night-vision,' or some other ghastly thing they thought up in marketing to make their list of features look longer.
Shoot all your footage normally, always.
If you really feel the need to use 'night-vision,' edit that effect in later with movie maker or the like.
That way you'll still have the original nicer looking footage just in case.
8. Focus on what interests you. Really interests you
Perhaps you've recently seen a video where a very wide shot was taken, as if unsure of where to look.
There's no apparent, motivating goal.
There may have been things you wanted to see in the video--close-ups, details, a tour of some sort.
Your curiosity in such a video could go unrequited as the shots move from moment to moment without any real intent.
If the author has no interest in the subject of the video, they themselves won't know what to film.
In other words, they don't know what people with that same interest actually want to see when creating a video.
Every video gets better when you apply an organizing principle, and it almost doesn't matter what that principle is.
Suppose the shooter of this video had become very interested in a particular person in the shot and showed you everything about them.
Or the person's facial reactions to some event taking place.
Find something to focus on--a person or an angle of interest--and your video will improve instantly.
9. Don't use amateurish titles
To clarify, we don't mean titles of your videos on Youtube or other video sharing websites.
We mean a title added into the video itself.
Unless you have a real design sense (you'll know because everyone in middle school wanted to work with you on group projects involving posters), stay away from titles unless they're really necessary.
When you do use titles, keep them both short and simple in wording.
Use an attractive, plain font--perhaps a nice Helvetica.
Keep the title as small as can be easily read, and put it on the top or bottom third of the screen.
Use white over dark backgrounds or black over light--no shadows, no outline, no underline, no motion, no glow.
No poster vision.
If your background is too mid-bright for the type to read in either black or white, try putting a simple gray bar behind it.
Keep titles on screen just a 'beat' longer than it takes you to read them out loud.
As in all things video, strive for simple but elegant.
10. Keep your video short
When it comes to video, the old show-business expression, "Always leave them wanting more," applies.
Anything worth saying on video is worth saying in an even shorter amount of time.
TV commercials tell a complete story, entertain us, and sell us--all in 30 seconds.
Benjamin Button lives his entire life on screen, backward, in 2 hours and 46 minutes (not a long time for an entire life, but still some might suggest it could have been done in 2:20).
The record of your mother's first birthday party probably exists as either a grainy two-minute silent home movie or six photographs stuck in an album.
Yet, if you look at those photos now, you get a real feeling for the time and place.
The home movie is short because 8mm film came in two-minute rolls back in those days, and with that said, just because you can shoot for an hour and a half on your video camera in our time doesn't mean you should.
You don't need 10 minutes to show us a birthday party.
A sales video longer than three minutes?
Unless it's for Victoria's Secret and directed by Martin Scorsese, don't even think about it.
And even then, it had better be good.
The best way to make your video shorter is to aim for short when you start.
The second best way is to internalize another showbiz adage: When in doubt, cut it out.
11. Use an external microphone

Most video cameras adjust their own sound levels.
That means they take whatever they hear and boost it to a constant, listenable level.
Unfortunately, if they hear any crowd noise around you, they'll get boosted.
Traffic noise, sirens--it all gets boosted.
In fact, even if the camera mic hears nothing, it'll boost that too.
In an interview where the subject is too far away from the mic, the camera will crank up every hint of sound between you and them, creating a big, echoey overlay of room noise.
If you're as close to your subject as you should be, this is less of a problem.
To make it no problem at all, head over to our catalog page and grab our terrific clip-on mic.
Plug the wire into your camera, clip the mic end to your subject's shirt, and your sound problems are over.
You can also buy a boom mic, which requires an assistant's help.
The assistant holds the mic very close to the subject, just outside of your camera's shot.
Alternatively, if you're creating a podcast or something similar, you can also use our BM-800 Condensor Microphone while sitting at a desk or holding it.
Noise problem solved.
12. Take the quality pledge
Unless creating it in a flash for a once-in-a-lifetime event, conform to a higher technical standard and ensure that you produce quality content and video.
If you wouldn't watch it voluntarily on YouTube, don't expect other people to do otherwise.
Pour Conclure
It doesn't take much to move your video up the quality ladder.
Implementation of just a few of these tricks will put you miles ahead of the competition, or anyone else for that matter.
This information presented to you here today is from Steve Stockman's book, How to Shoot Video That Doesn't Suck.
Grab a copy if you want more stellar, in-depth information.
Now, go forth and create amazing video content and rack up those views!
Cheers,
Alexander @ Lumiere Visuals.
P.S.
All you need is your smartphone to get started.
Aside from these tips, to make everything even better, take a peek into our catalog and help yourself to a ring light and external microphone.
A simple tripod and natural light from a window will do too.
Good luck!